Butterfly valve installation steps explain to the clamp.
The wafer butterfly valve is one of the most common type of valve in industrial piping,
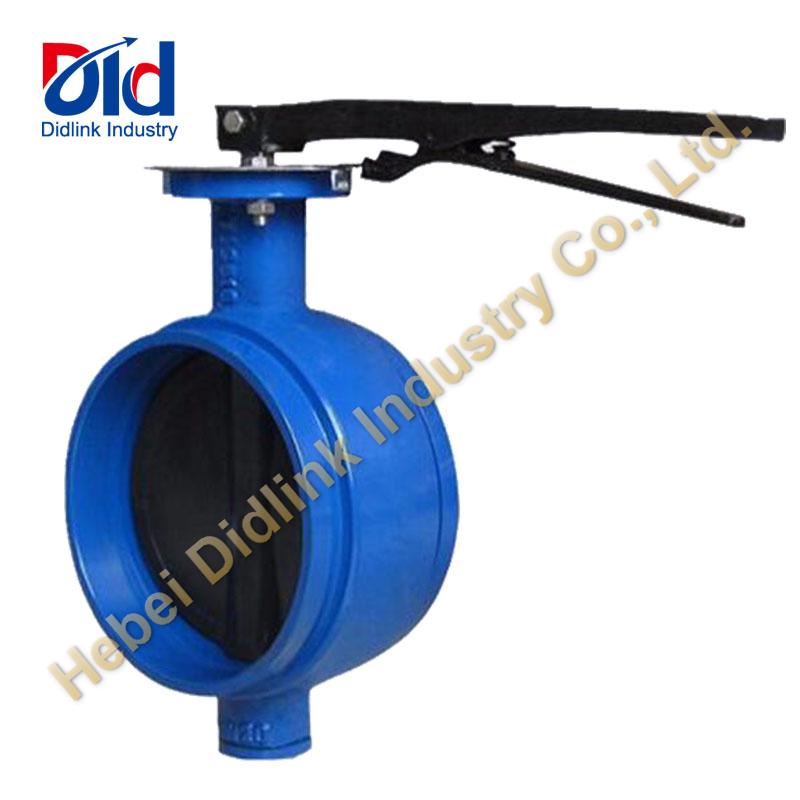
Wafer butterfly valve structure itself is small, need to put the butterfly valve in the pipeline both ends flanges, with stud through pipe flange and wafer butterfly lock, can control the fluid of pipeline.
Wafer butterfly especially suitable for short distance between the space narrow or pipe, butterfly valve in the fully open position, the butterfly plate thickness is the only resistance when the medium flows through the body, so by the valve pressure drop is small, it has good flow control characteristics.
A, the wafer butterfly valve before installation instructions:
1, before operation, installation, start with spray washing to remove air piping on the external things, match the tube surface, clean with water.
2, carefully check whether usage of valve and its performance specifications;(temperature, pressure)
3, to check whether there is sundry, valve channel and sealing surface and keep clear of in time;
4, after opening the valve to install in time, please do not arbitrarily loosen the valve of any fastening screw or nut;
5, wafer butterfly must use special butterfly valve flange.
6, electric butterfly valve can be installed at any Angle of the line, in order to maintain convenient is not recommended to mount a horse.
7, butterfly valve flange during installation must ensure that the flange face and sealing rubber, screws evenly tighten, sealing face must be nicely complete;If there is a screw strength can appear uneven rubber bump stuck butterfly plate, or to resist butterfly plate caused the valve stem leakage.
Second, the wafer butterfly valve installation steps:
Correct installation of the wafer butterfly valve is related to the degree of sealing butterfly valve, and will not leak, including working in security, users should be understand installation process.
1, place the valve in the pre installed between two pieces of the flange, pay attention to the bolt hole to neatly aligned.
2, the four pairs of bolt and nut, gently insert flange holes. Tighten nut slightly to correct the flatness of flange face;
3, will be fixed on the pipeline flange using spot welding;
4, remove the valve;
5, the flange welding completely fixed on the pipeline;
6, stay cool joint before install the valve.Ensure there is enough space in the flange valve in order to prevent the valve was damaged, and guarantee of the opening of the valve plate has certain;
7, correct the valve position and tighten with four bolts, (be careful not to twist too tight)
8, open the valve to ensure that the disc is free to open and close, and then make the valve plate slightly open;
9, cross balance. Tighten all nuts;
10, free to open and close again to confirm valve, note: make sure there's no touching the pipeline valve plate.
The wafer butterfly valve installed first before installation to must be flat, in casual knock against, when installation will be made after the length of the installation, pull it in the design of piping, without special permission is not free to remove the wafer butterfly valve, this is what we want to know before installation.
At the same time we also know that the wafer butterfly valve can be installed in any position, but the wafer butterfly valve requires laid along the butterfly valve after the installation is complete, a bracket for the wafer butterfly valve, and after stents once made, when use is strictly prohibited to stand off.
 Send Email
 jacky
jacky JACKY
JACKY